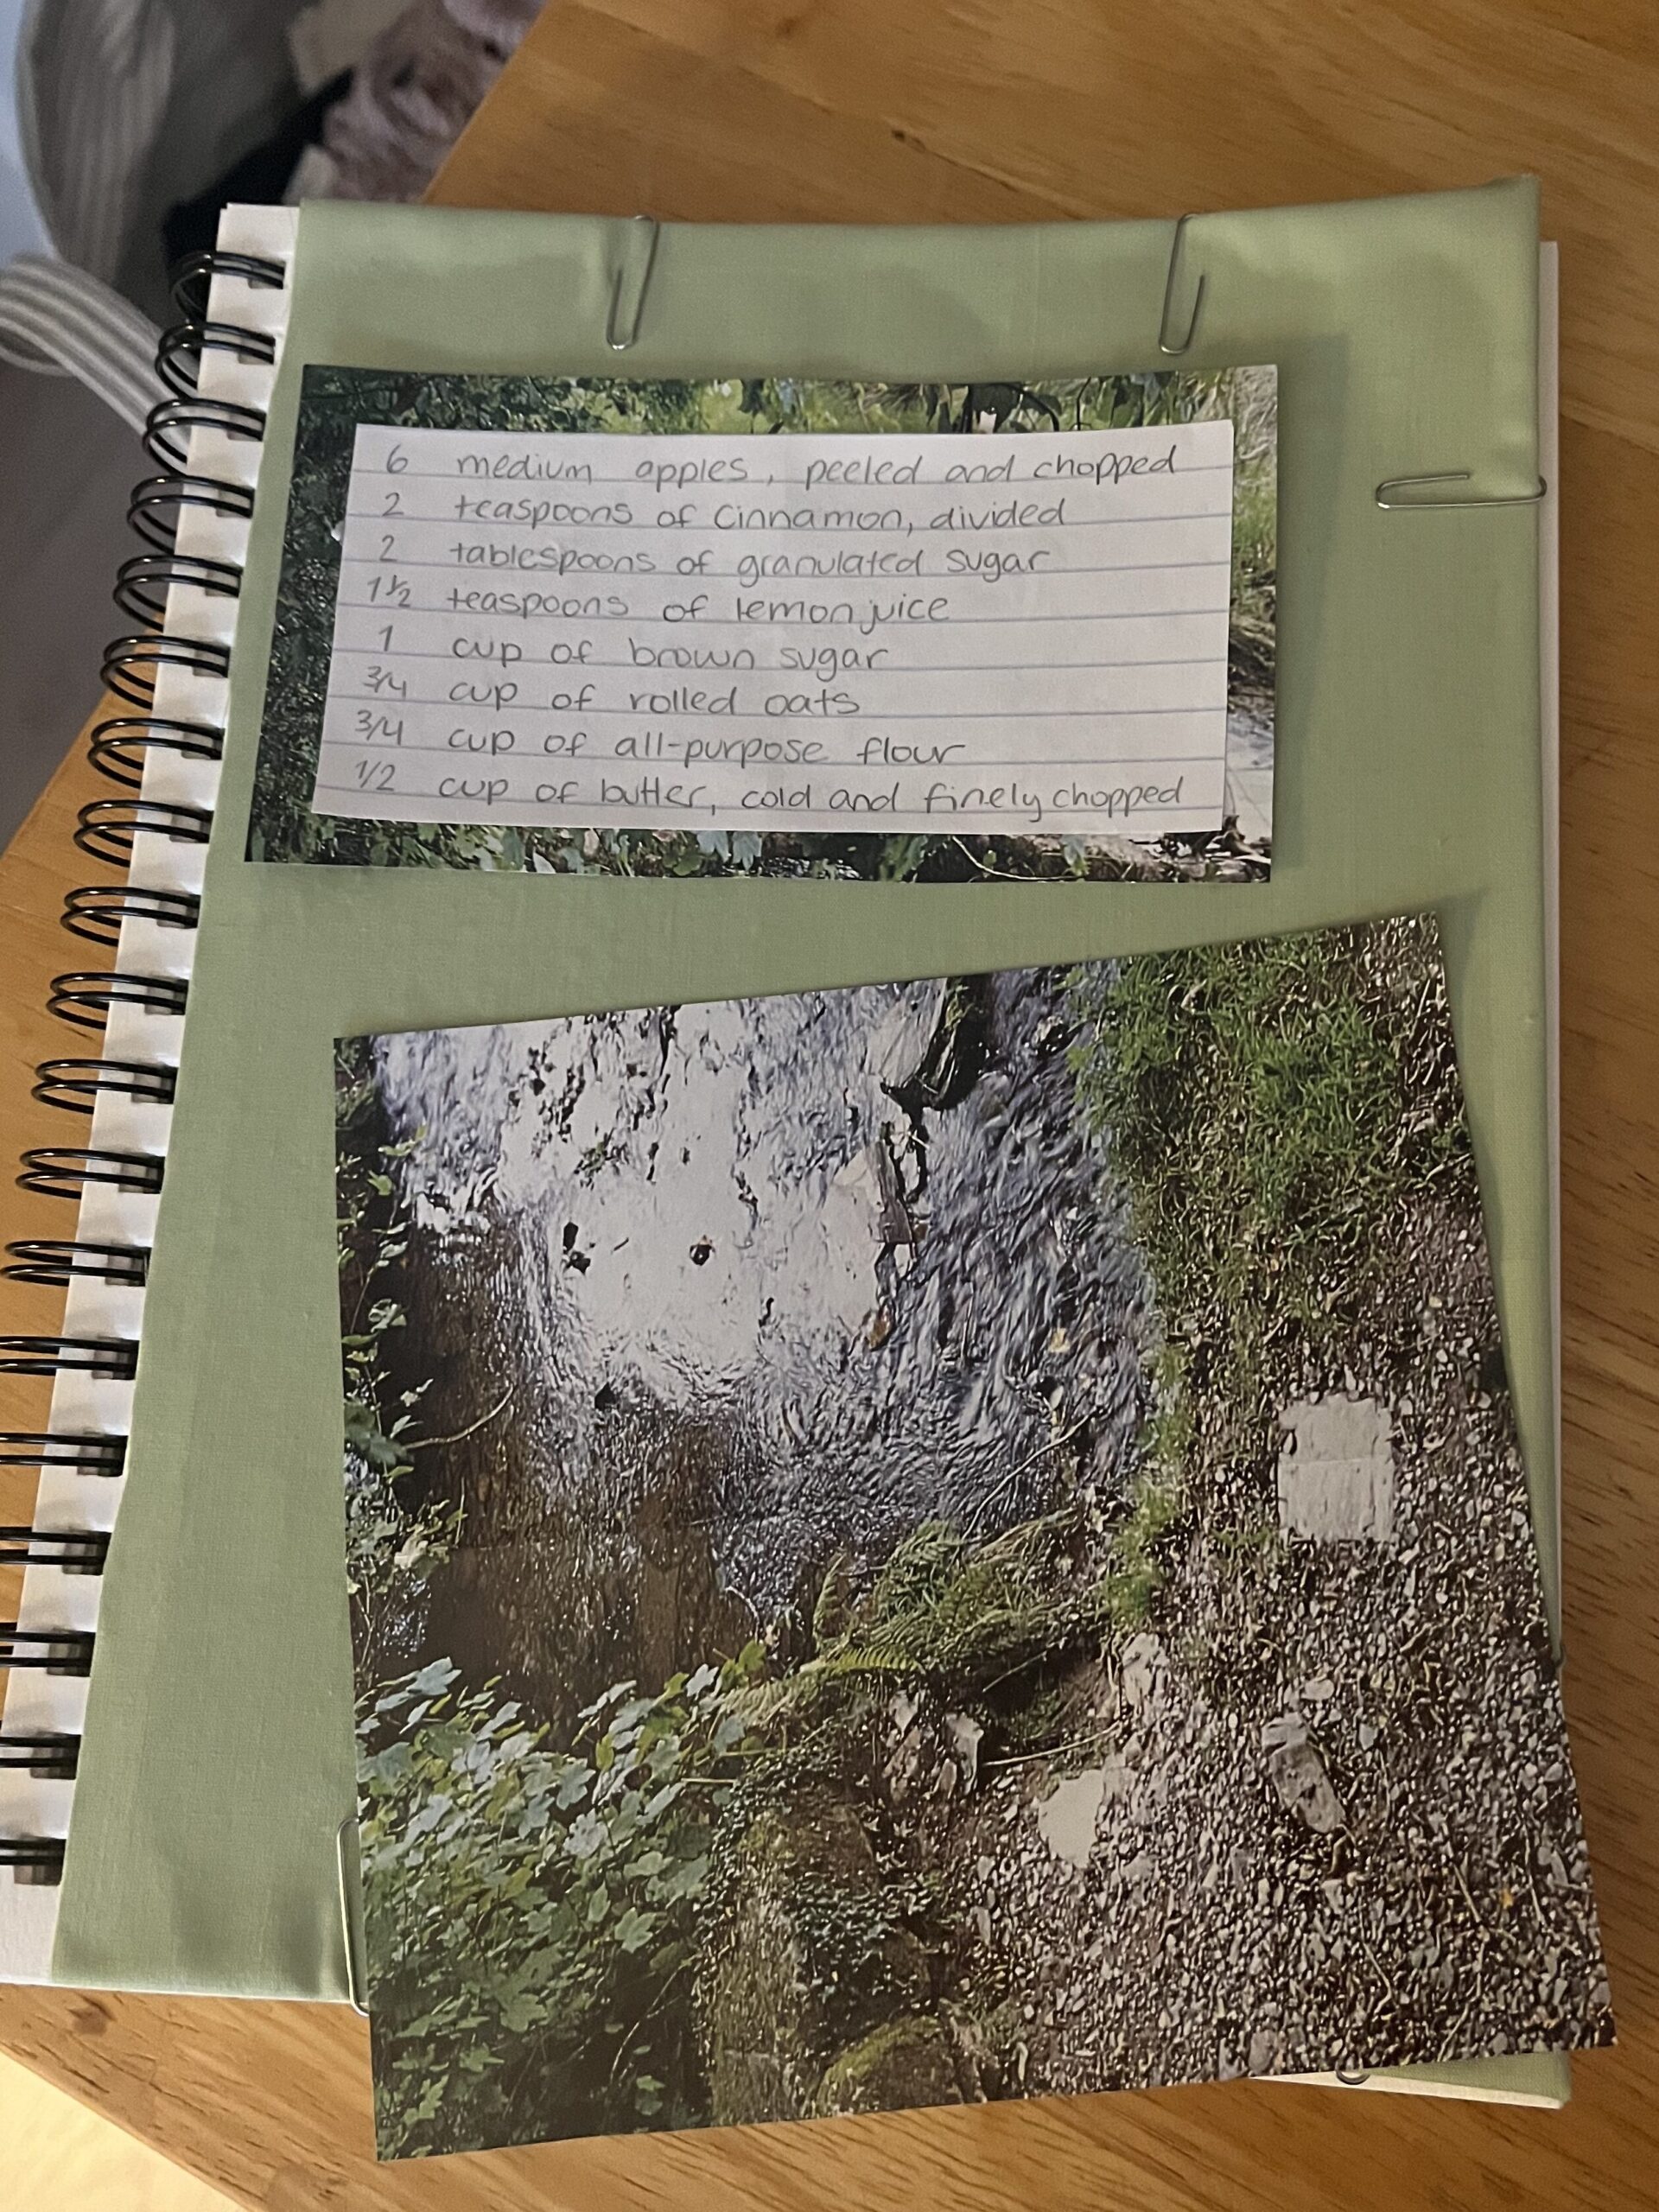
This week I made a recipe that is special to my family: Apple crisp! In the backyard of my childhood home, we have an apple tree that grows apples every summer. They aren’t great for eating raw, so my dad usually makes them into apple sauce. Something that my mom and I would do is use them for baking apple treats and desserts. I do love apple pie but my favourite thing to bake with them is apple crisp. I love the crispy topping and the cinnamon flavours.
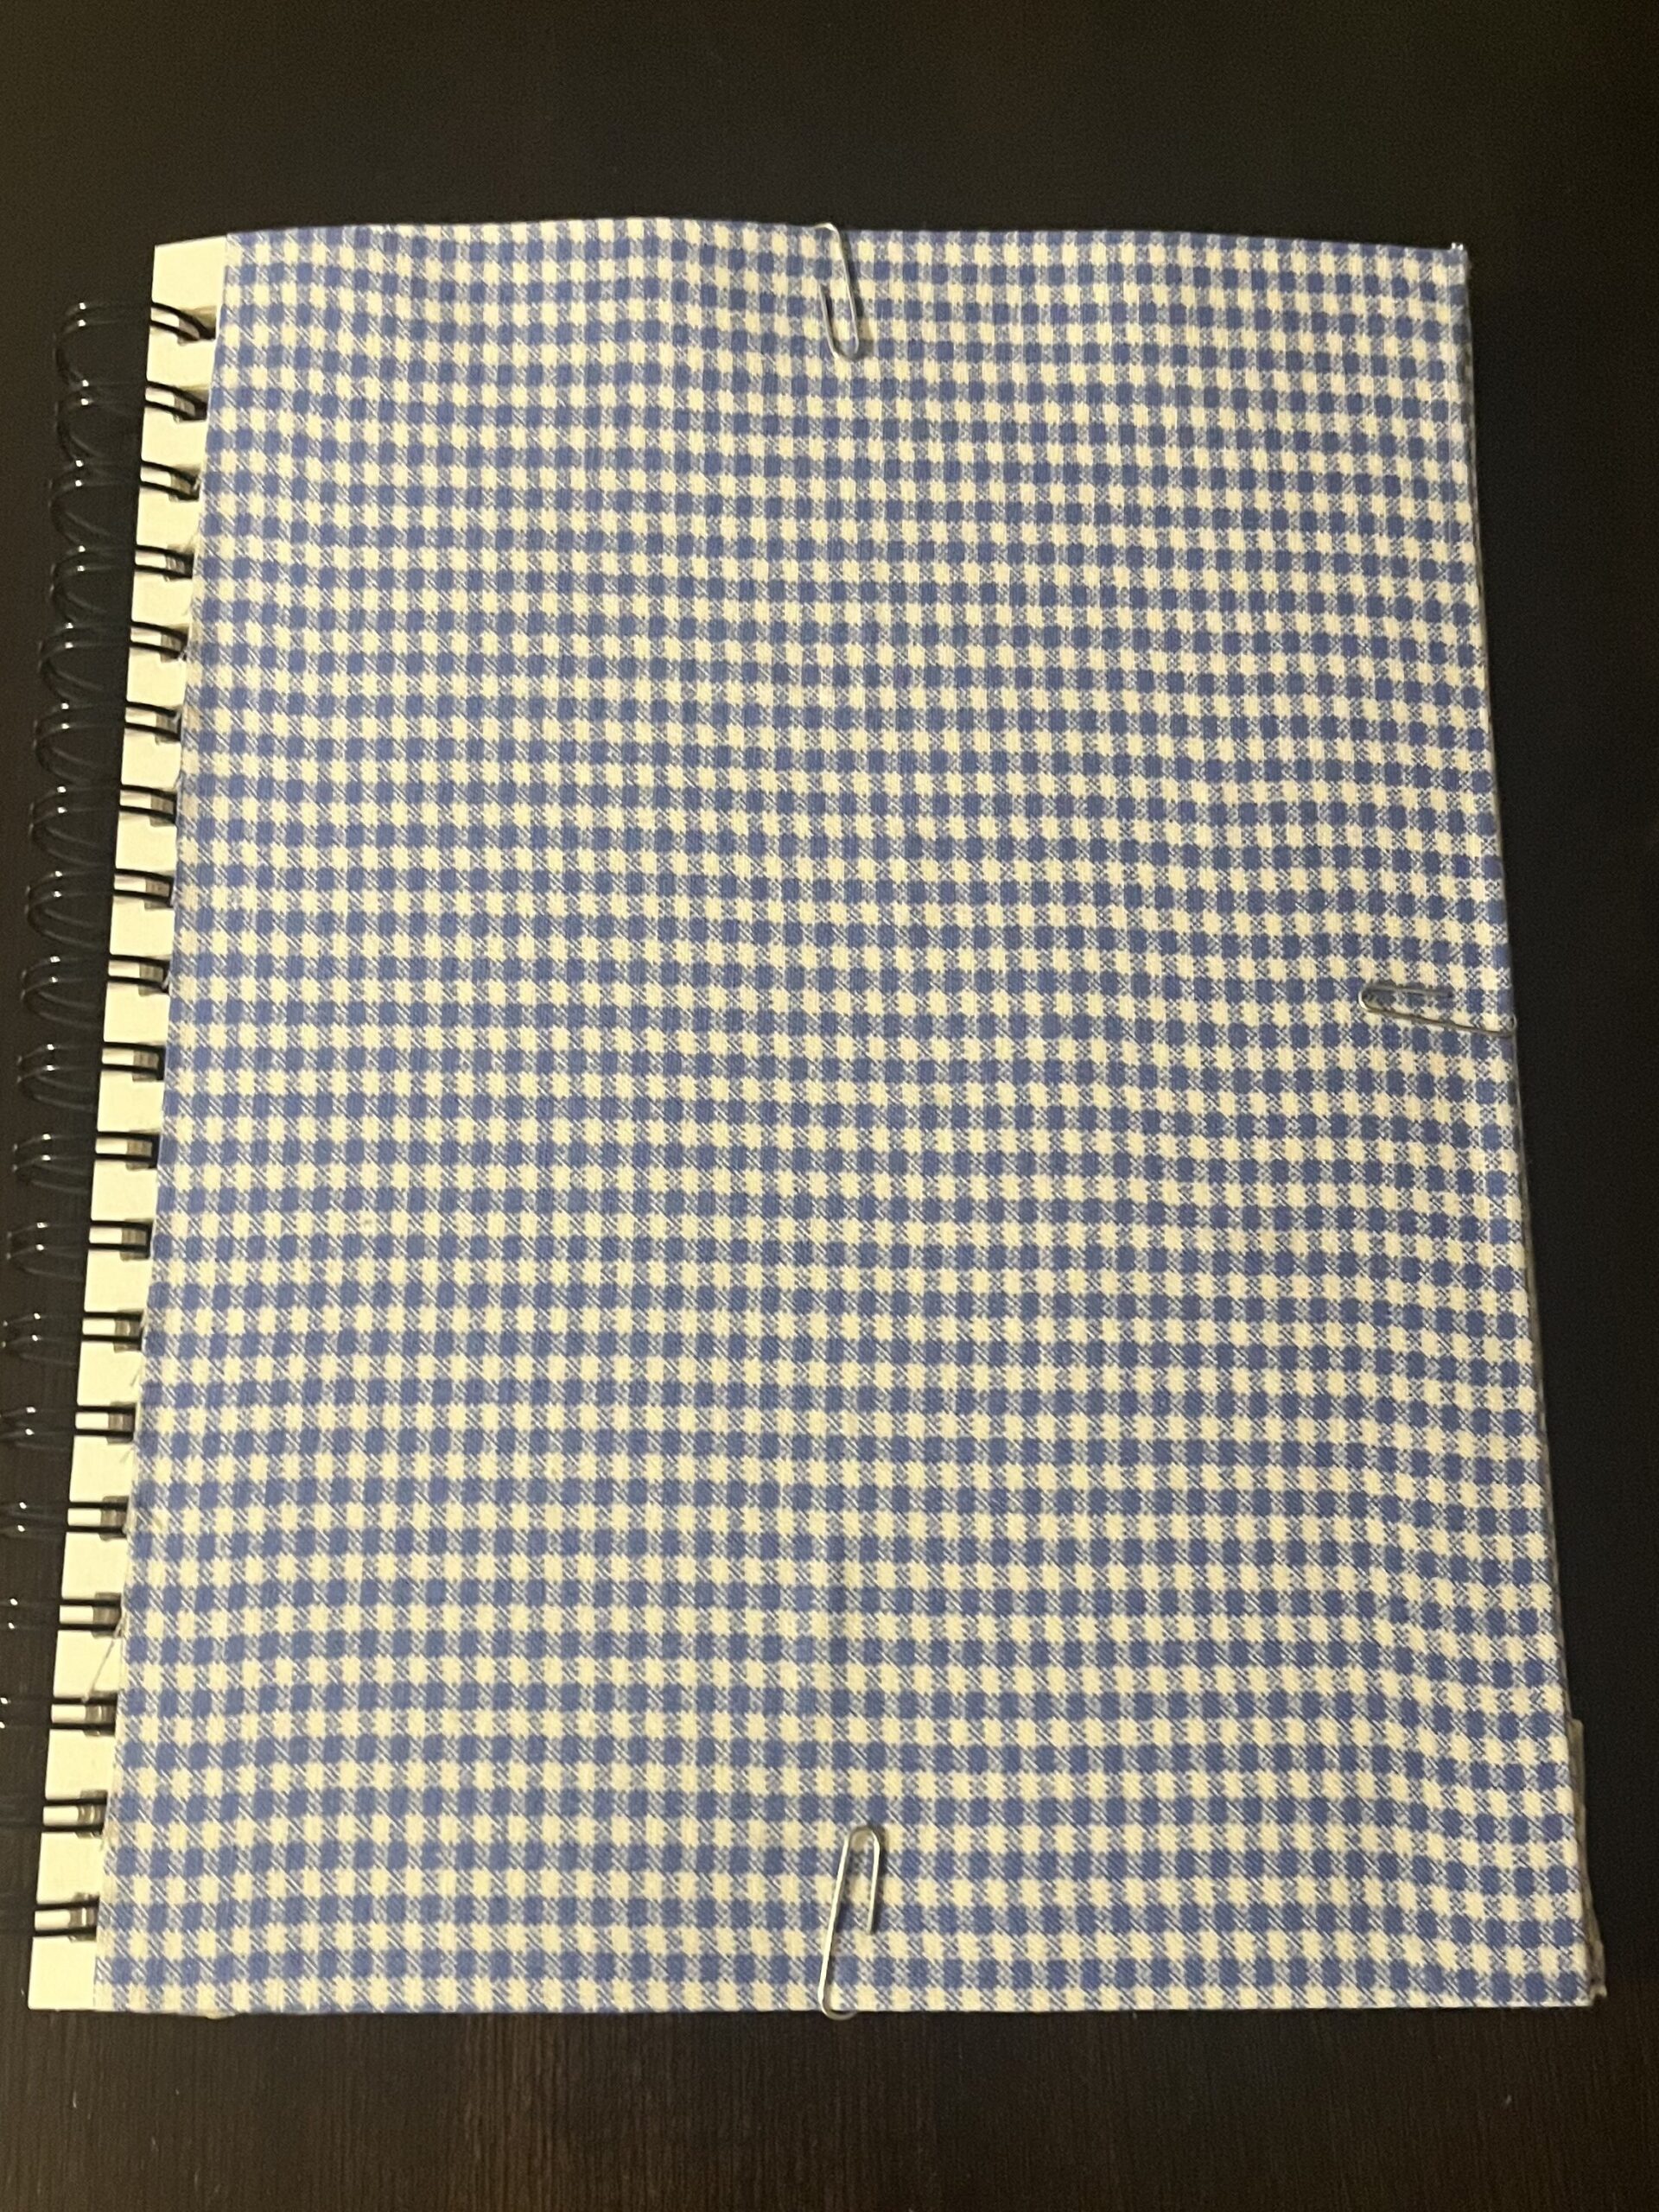
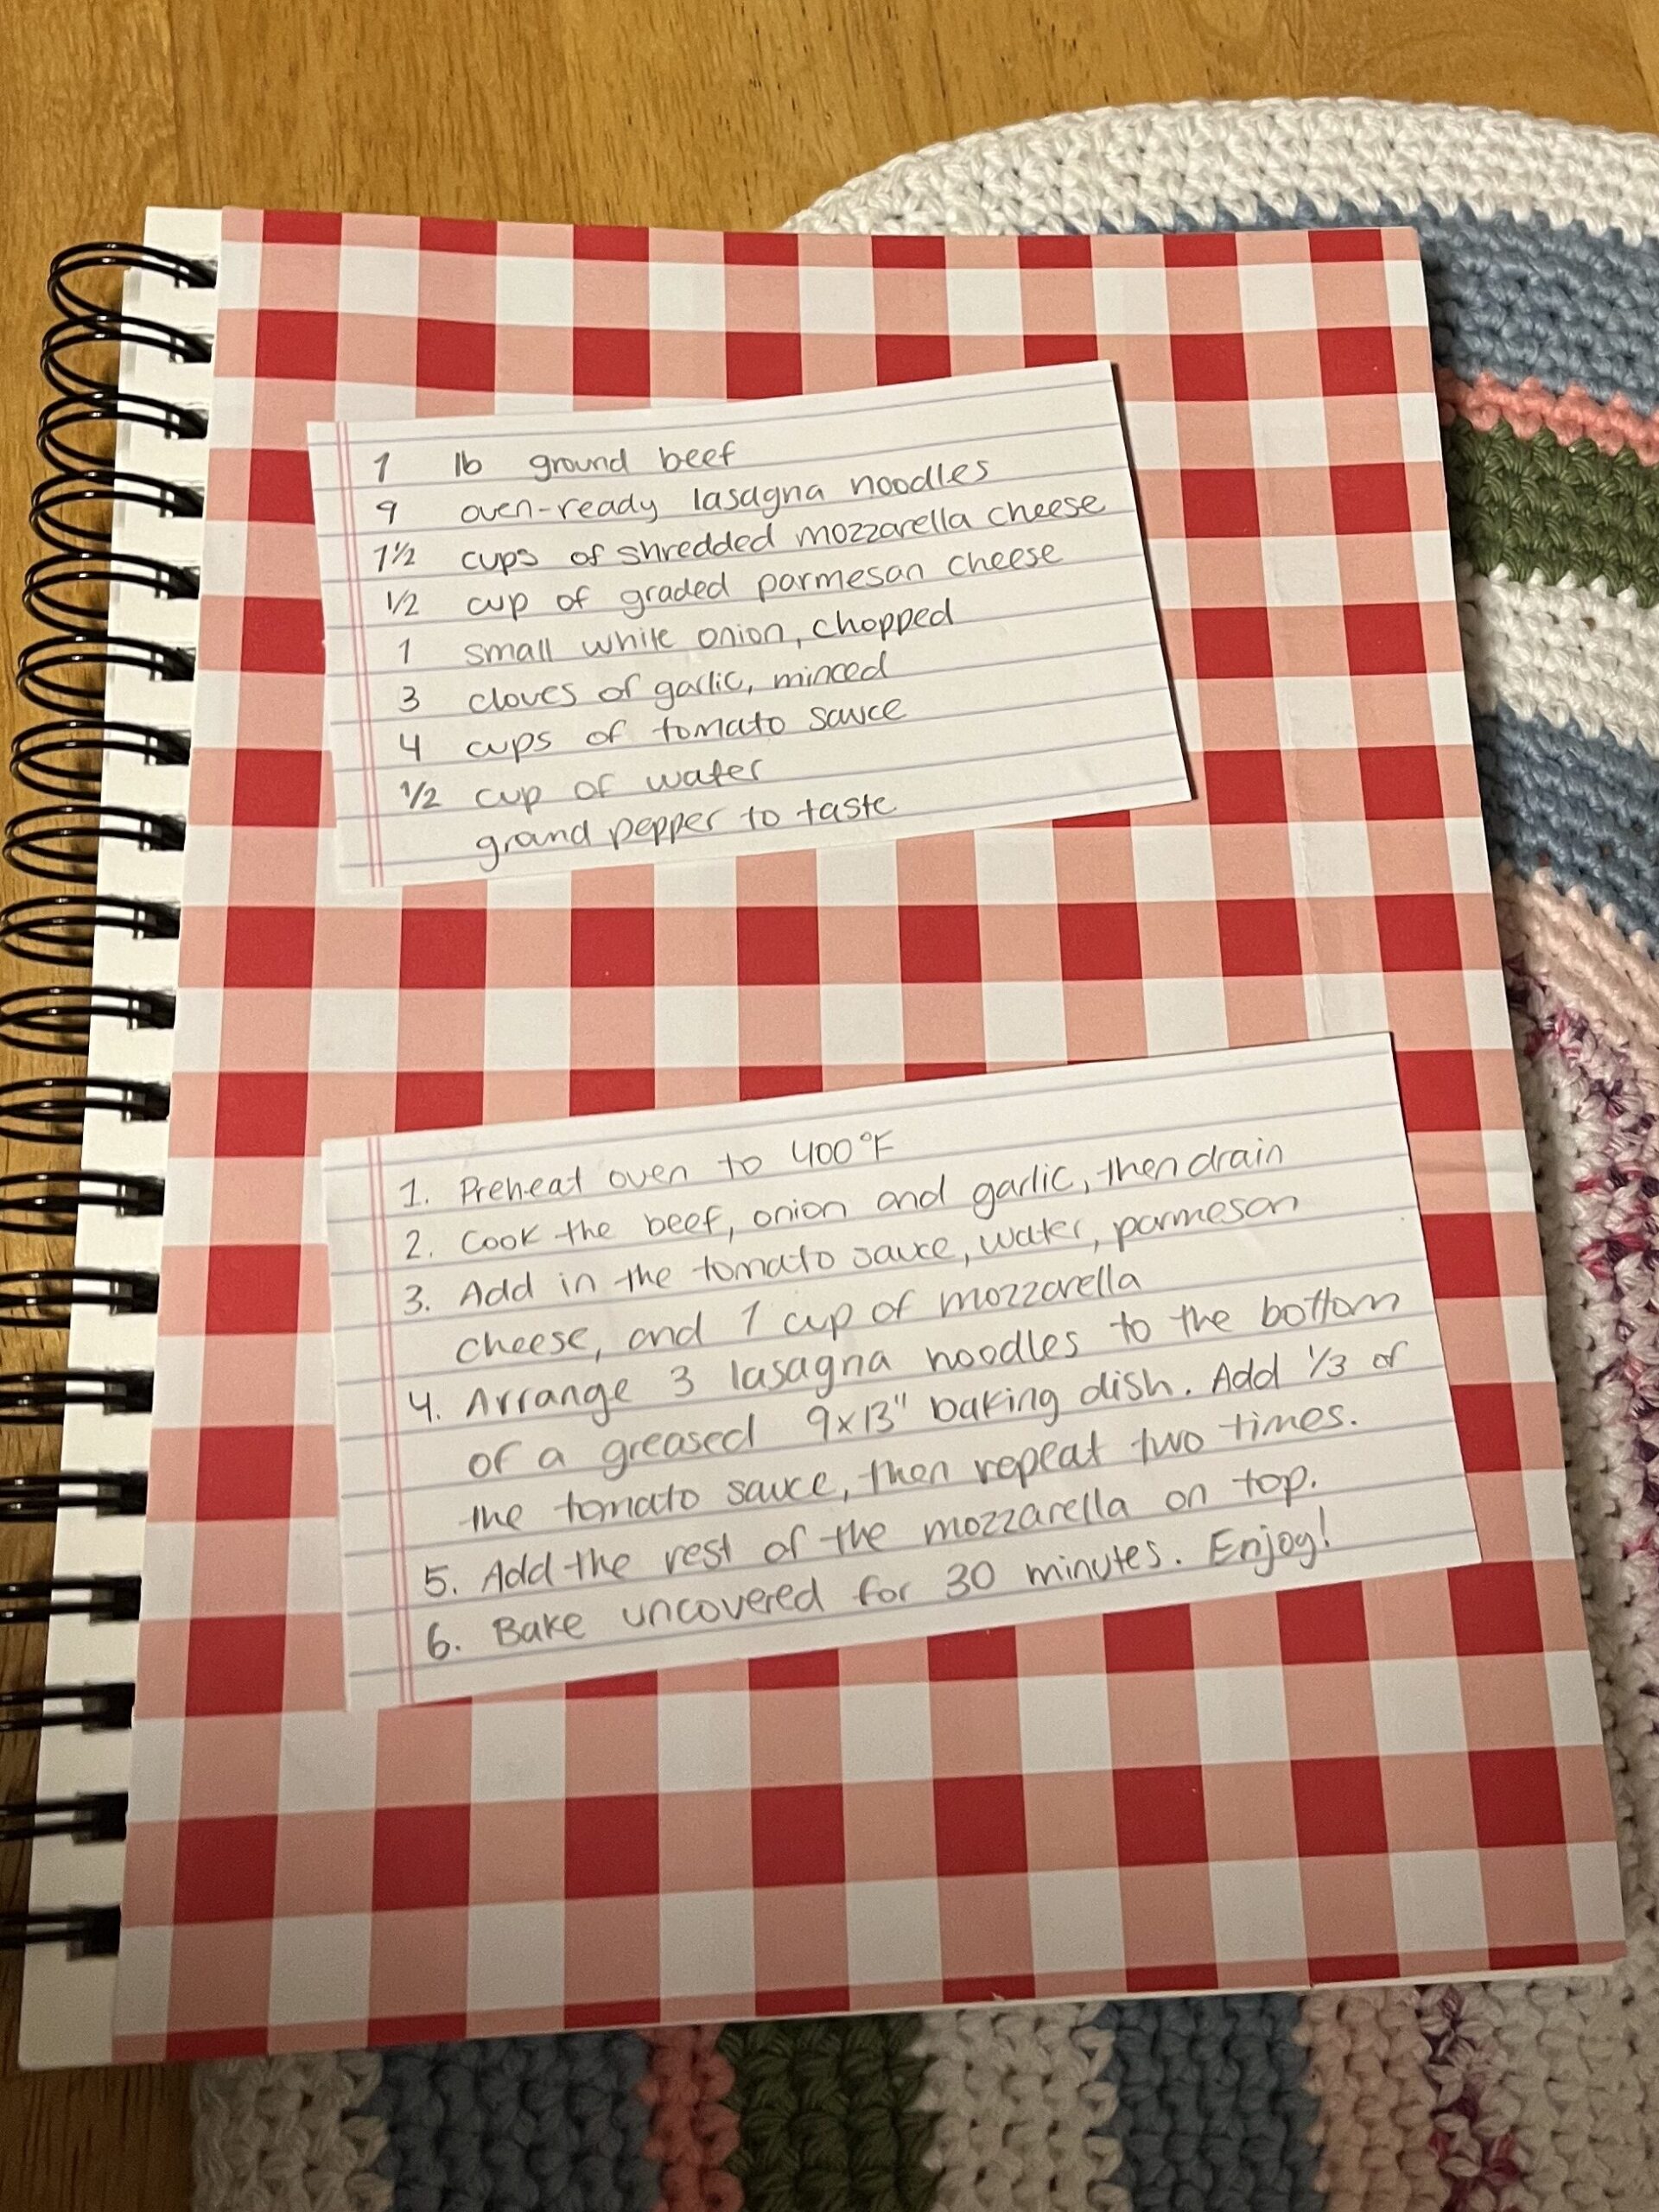
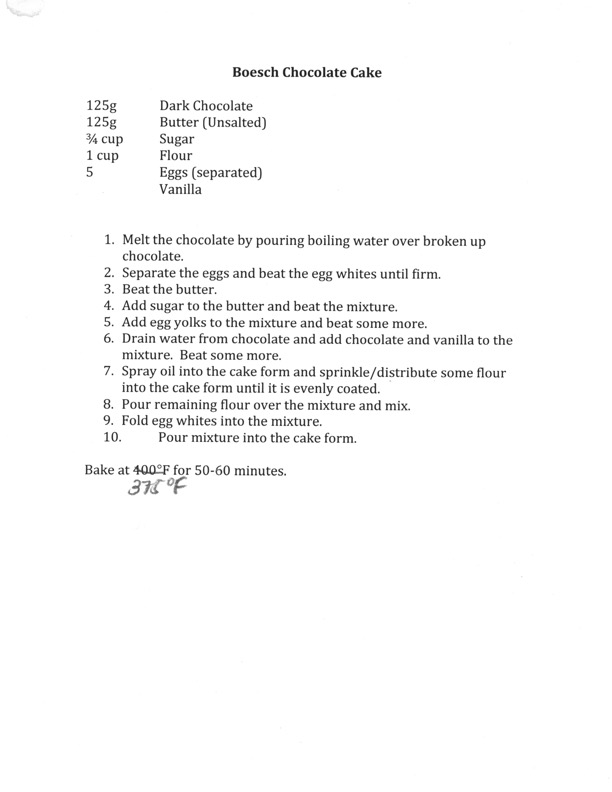
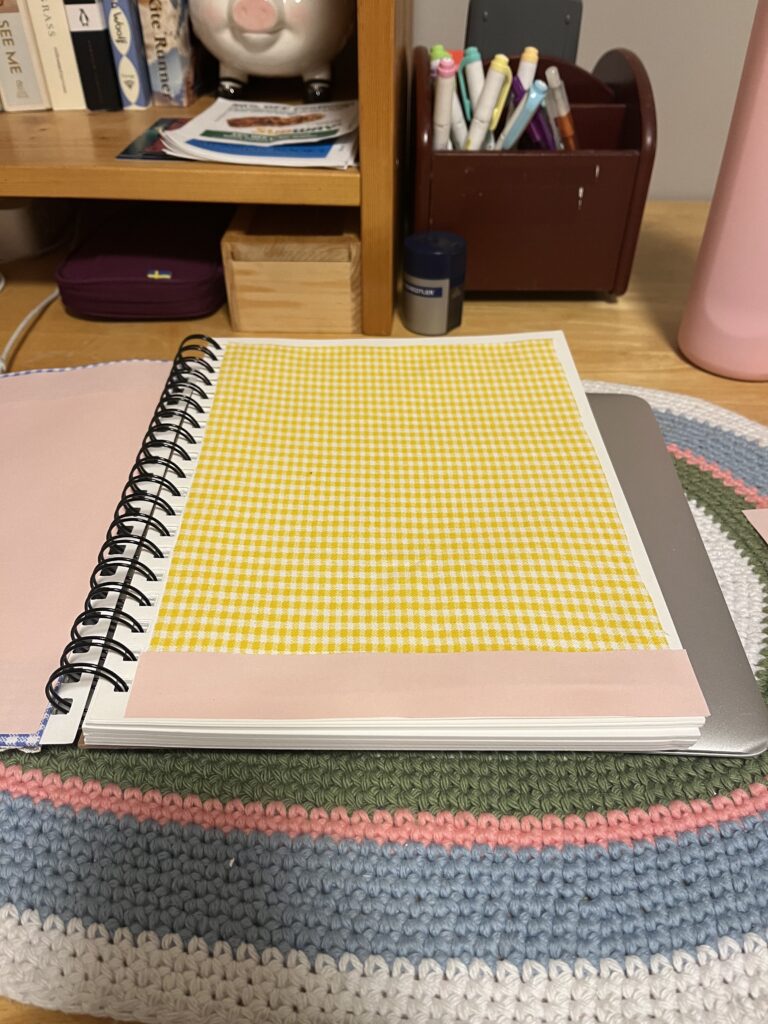
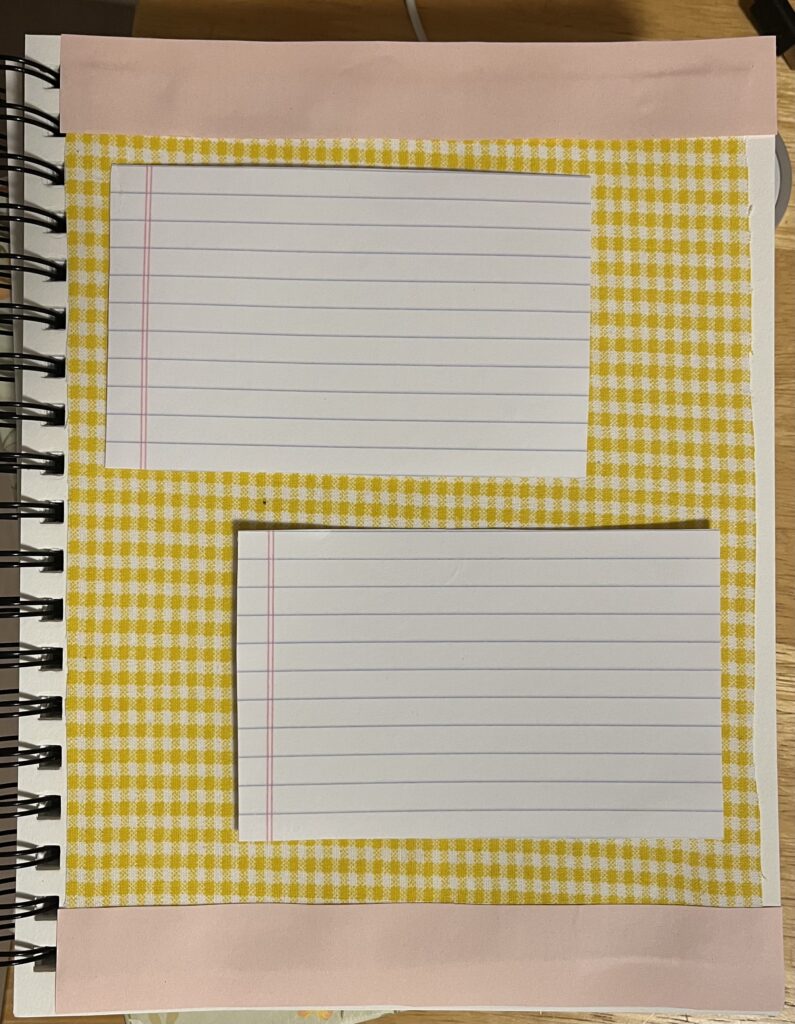
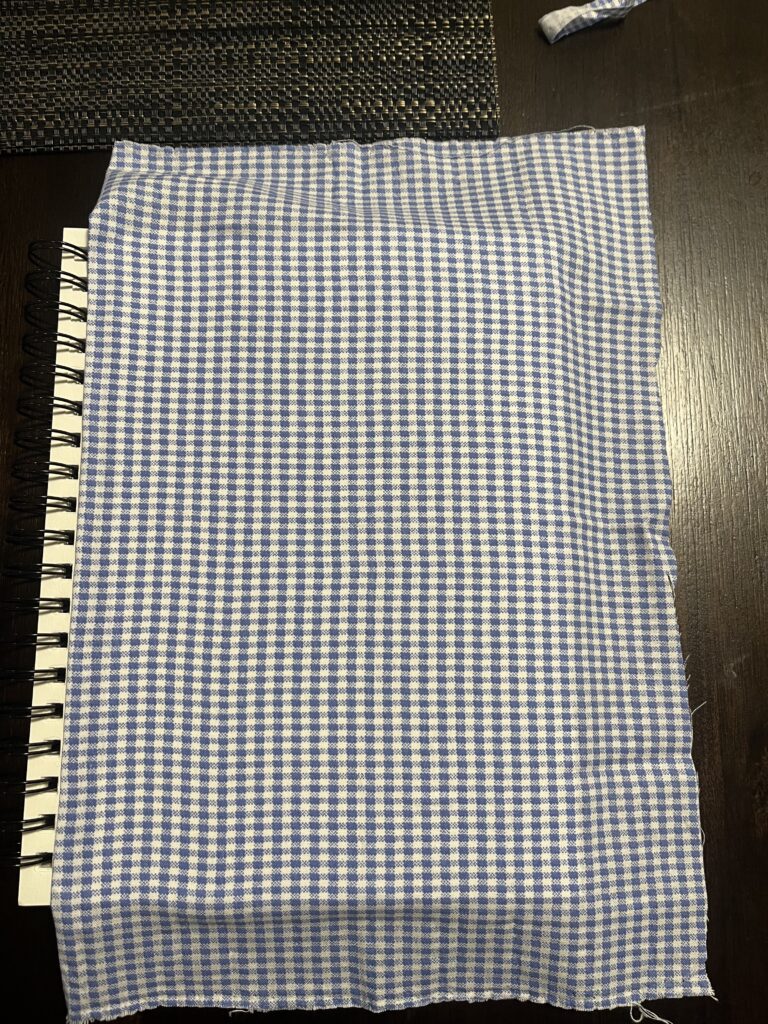
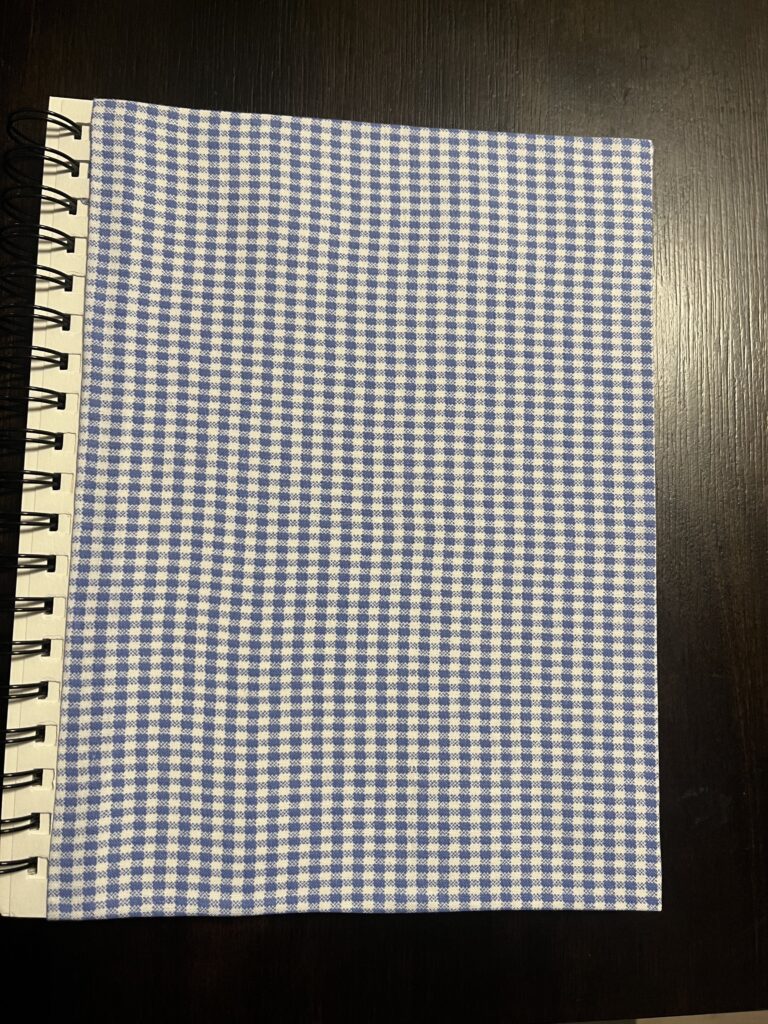
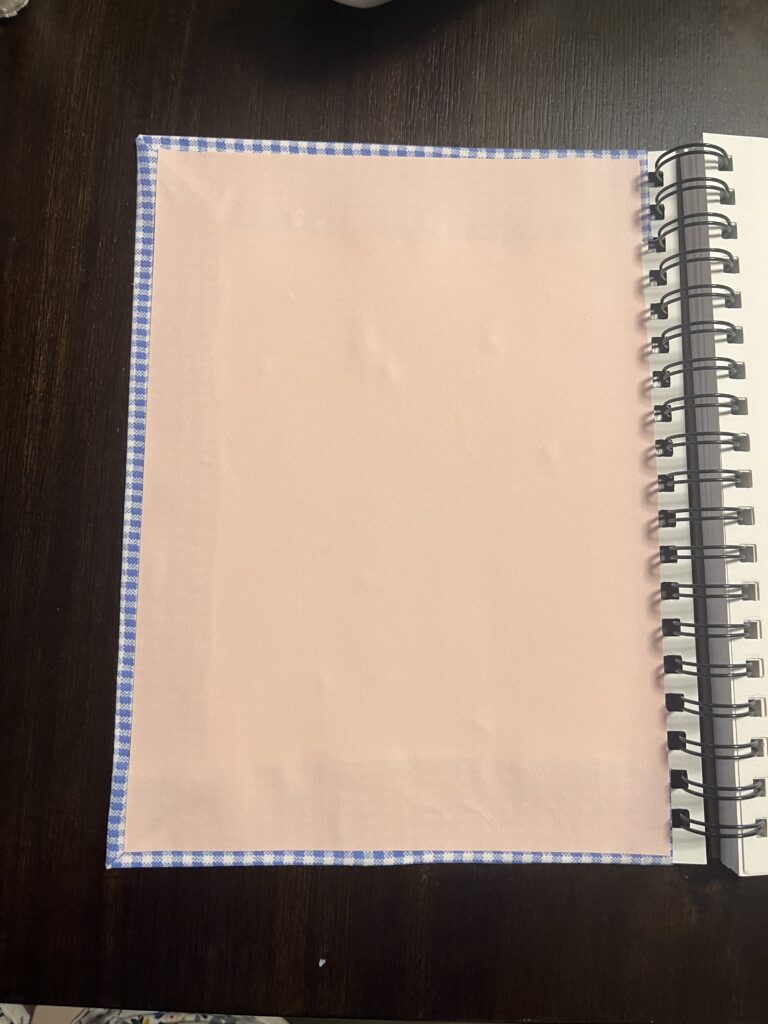
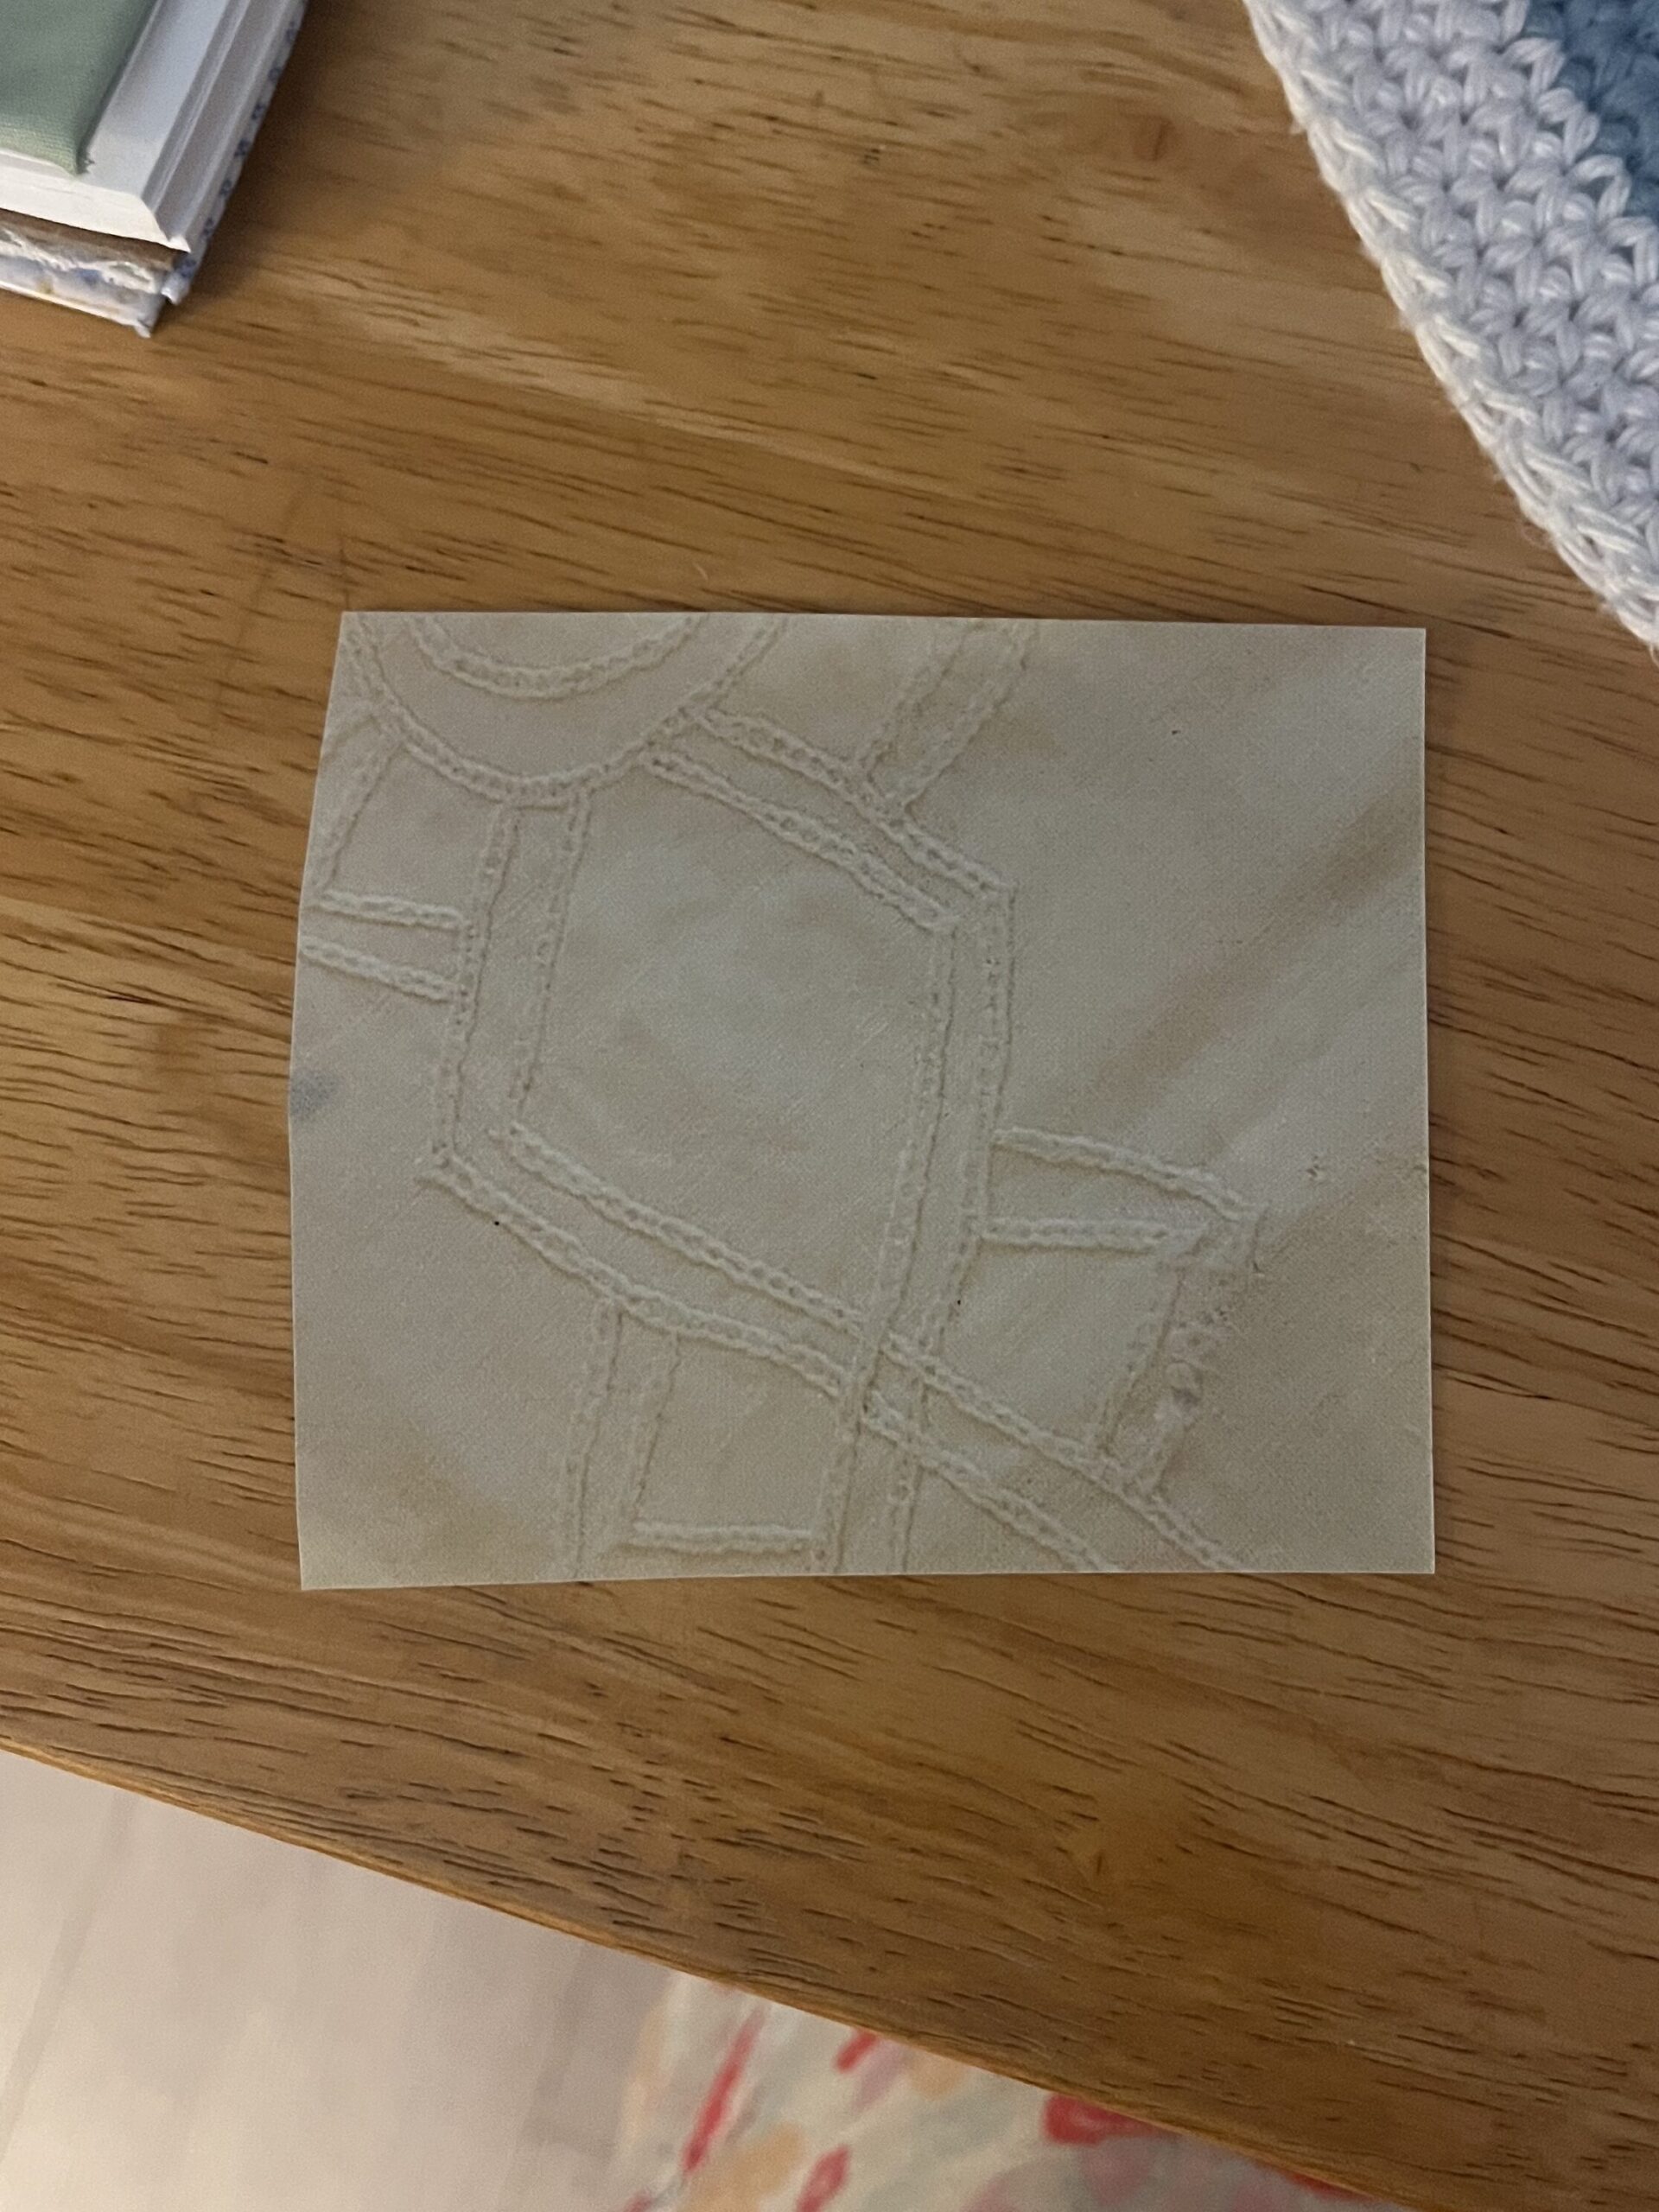
To start my recipe page, I chose the background. This week I wanted to try out a green theme so I started with some green fabric. Because this recipe reminds of picking apples from our apple tree, I also wanted to add some elements of nature. A few weeks ago I bought a book from the thrift store that has pictures of the english countryside, so Iooked through it for some pictures that had trees or lots of foliage. I used those pictures as the backings for my ingredient and instructions cards. Then I looked through the cook book for a pattern to use as the backing for my title card.
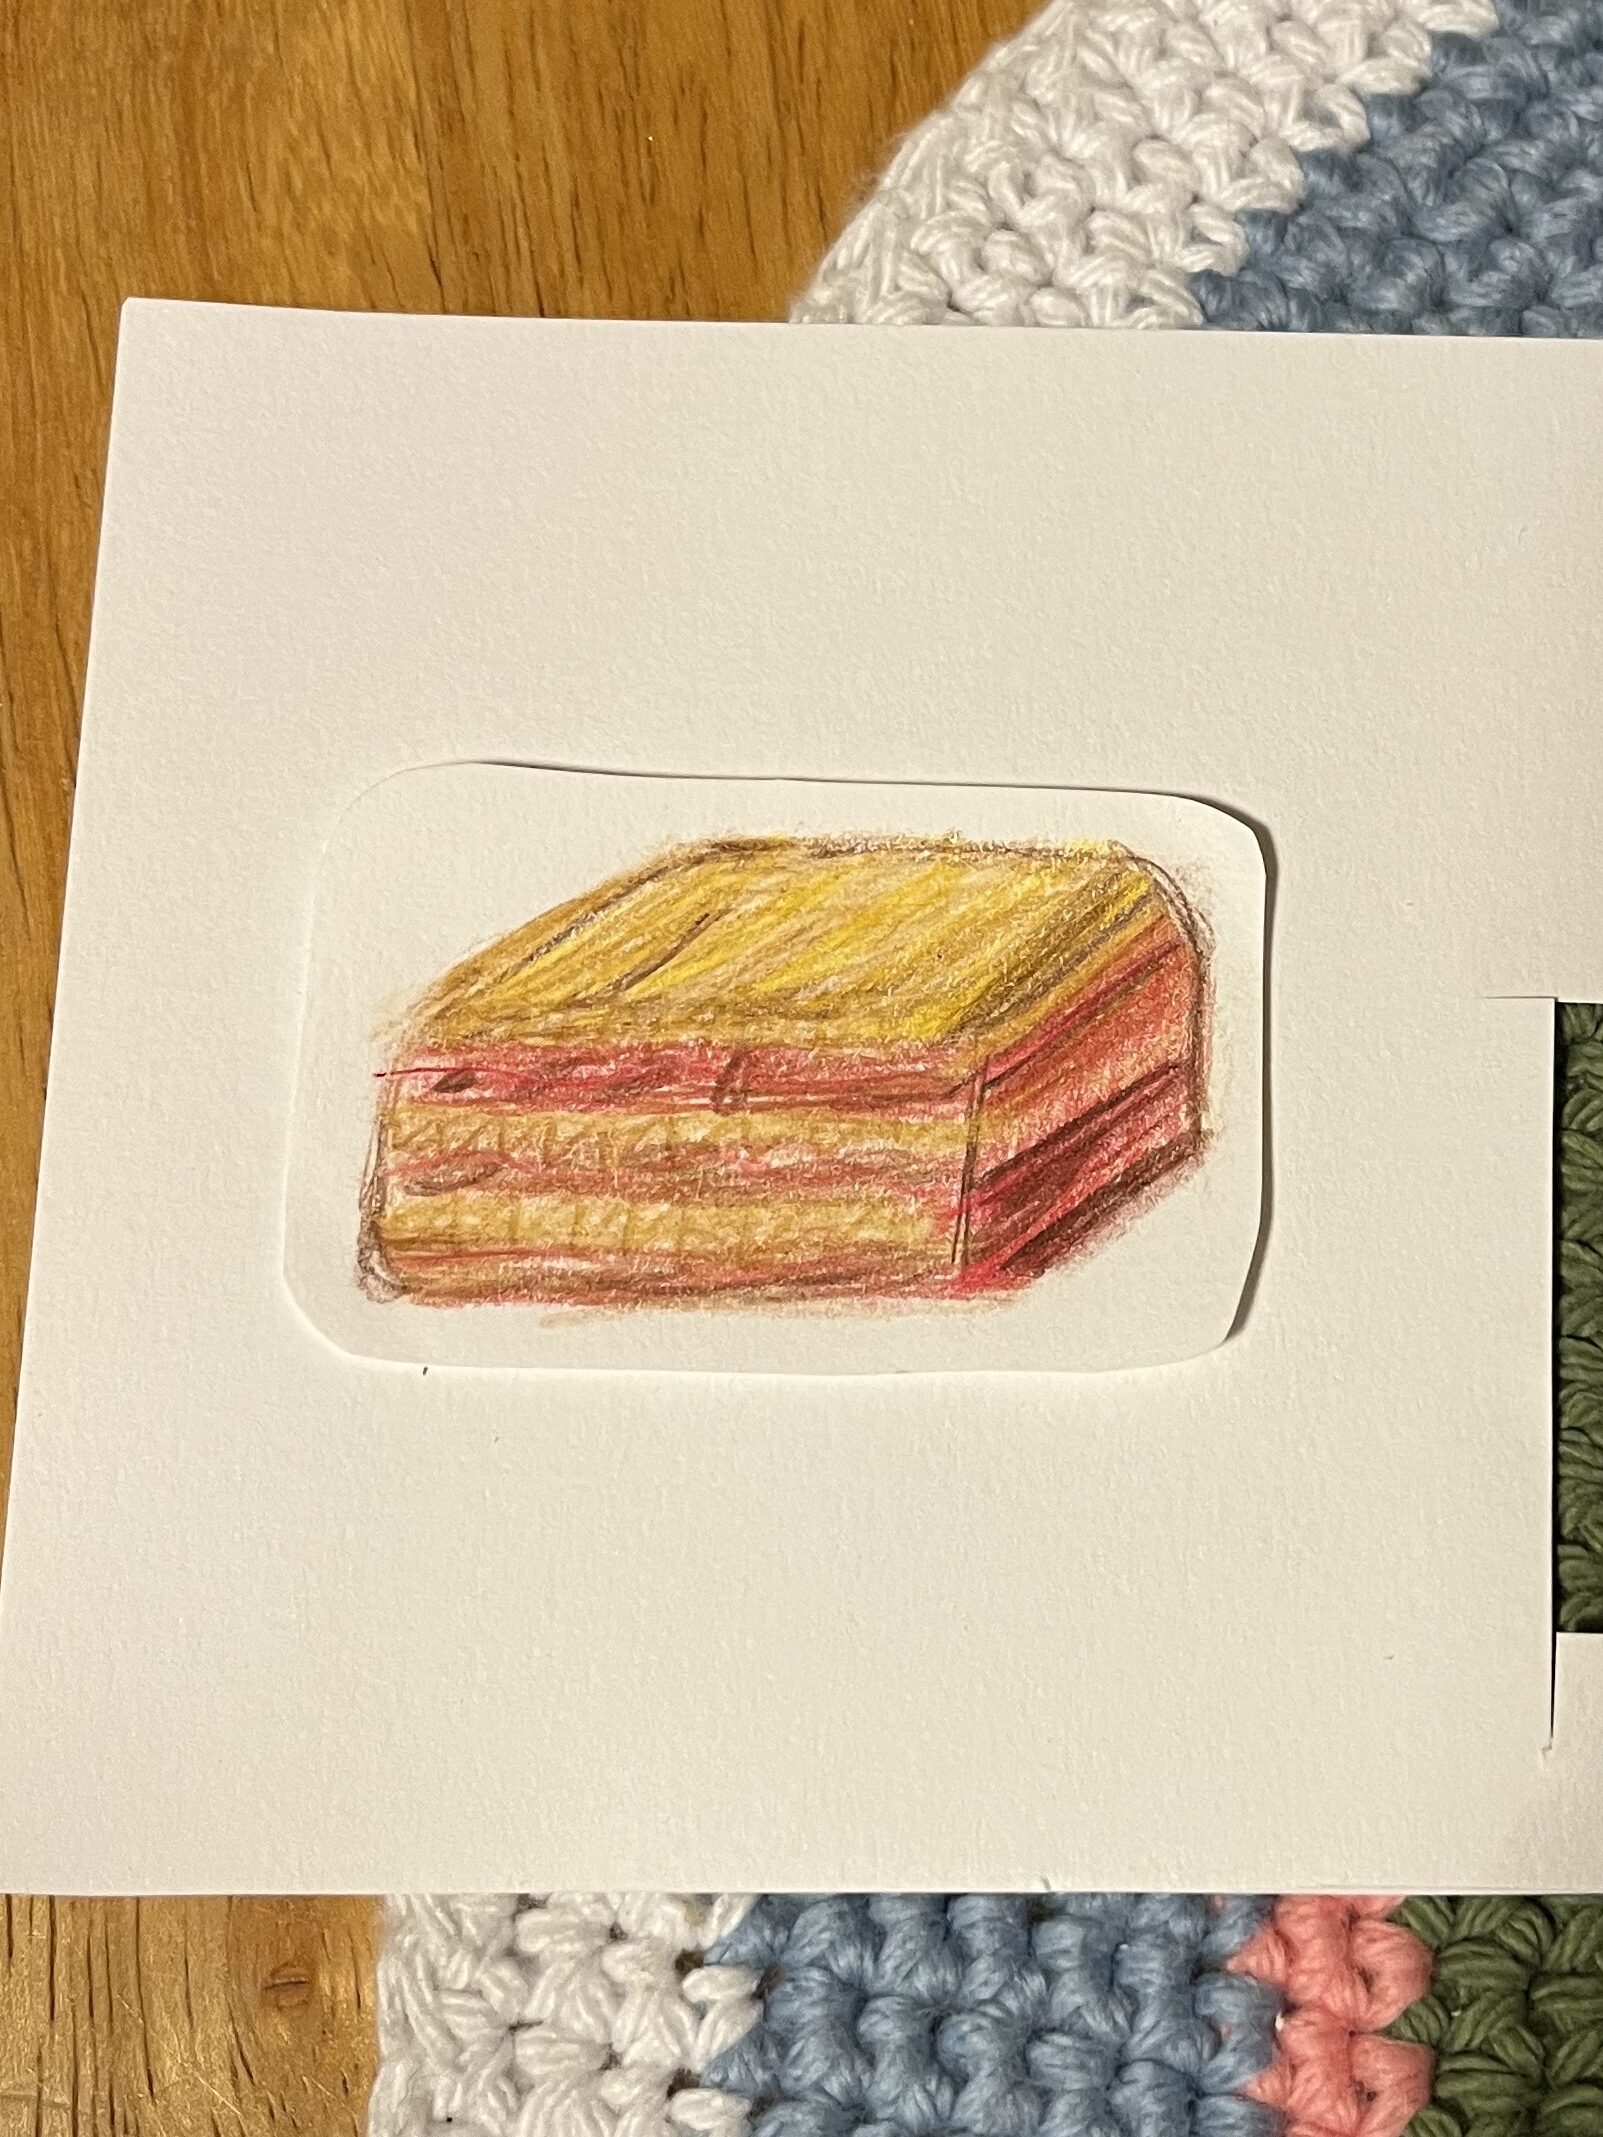
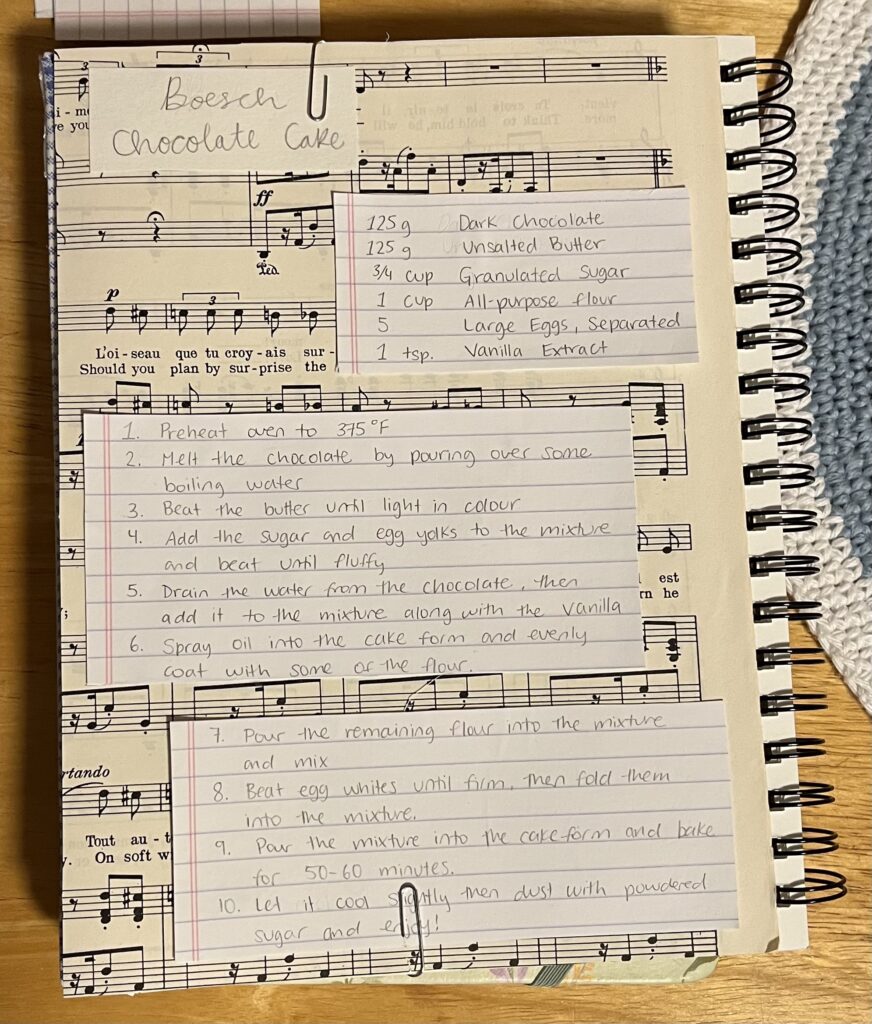
Once I finished making my cards, I got started on my drawings. For the first one, I kept it simple and drew an apple. For the second, I drew my family’s apple tree. It also happens to have a treehouse, which was super useful for my dad when my brothers and I were little because we would climb up and the pick the apples that were too high to reach. My last detail was a vintage postage stamp. I like to visit the community libraries on the UVic campus and sometimes they have little packages of vintage stamps. I saw one that had an apple and I knew it would be perfect to add to my apple crisp page.
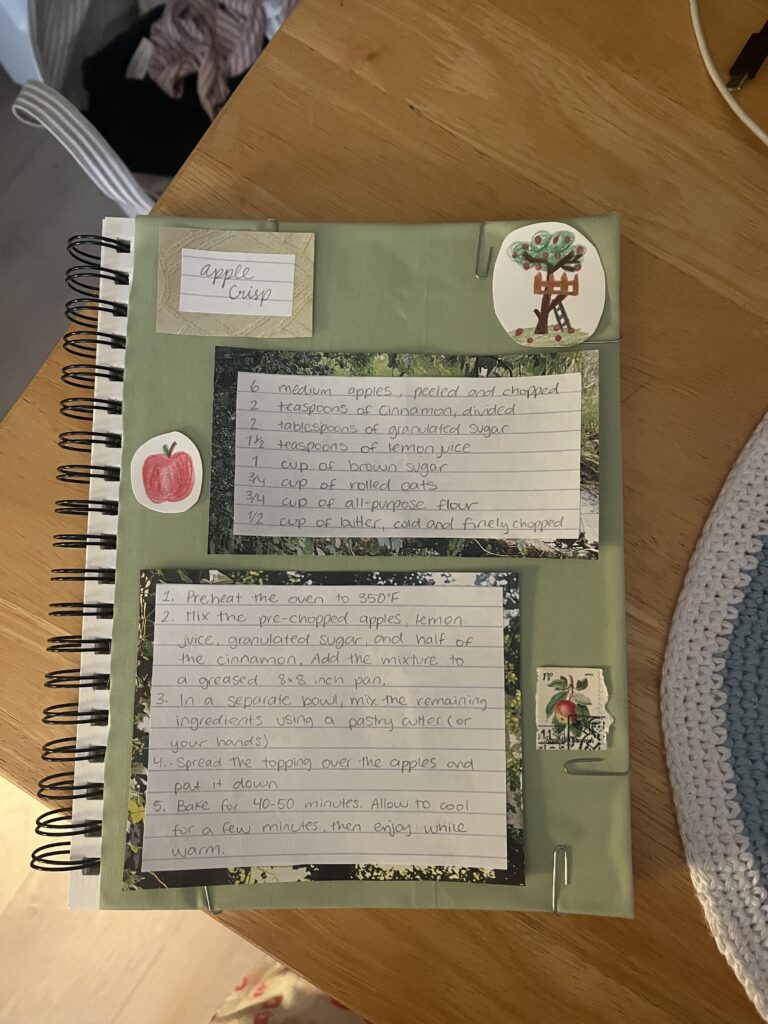
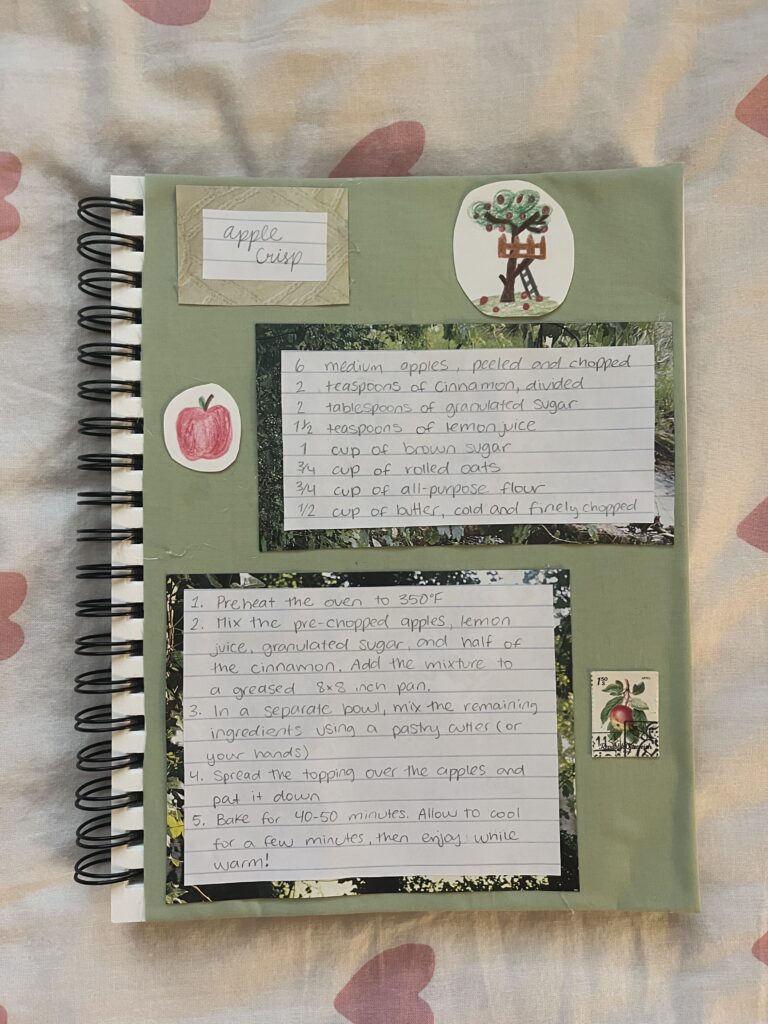
I love the details on this page and I love the way my greenery theme turned out. I’ve been having a really fun time making this recipe book because it’s a great way to look back on fond childhood memories. I also feel like I have worked out a structure for my pages that I can carry on until it’s full!
— Sofia 🎀